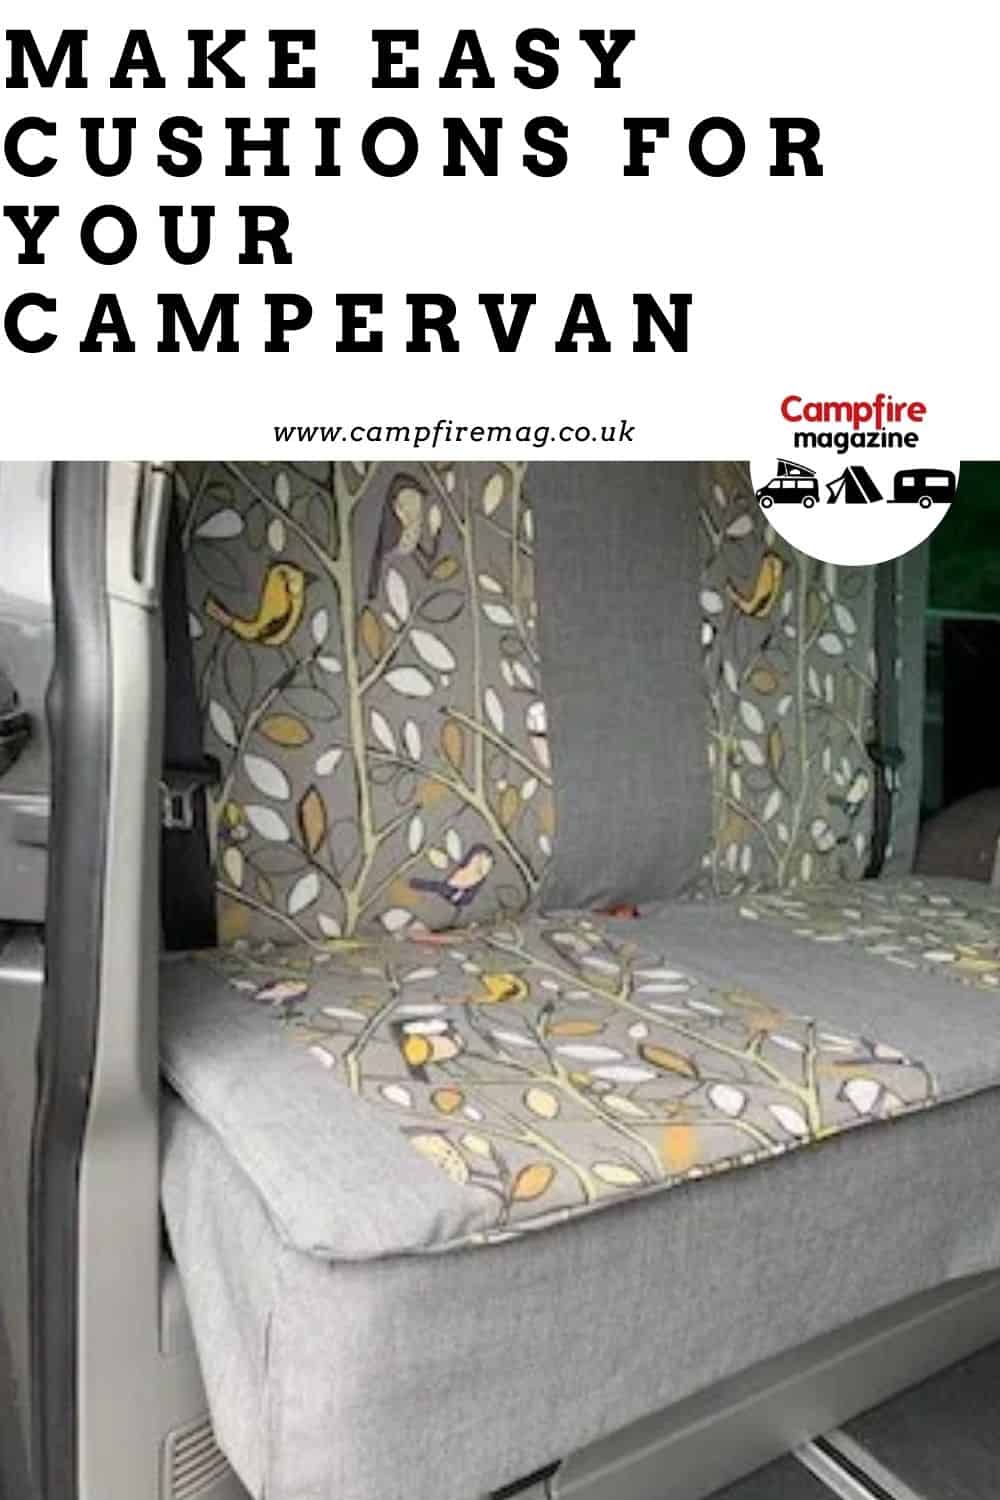
Want to keep sticky fingermarks, pet muck and spills off your precious upholstery?
Make yourself some protective, comfortable and beautiful seat cushions for your campervan or car-camper.
Here’s how. It’s simple!

Camping in comfort
The pale grey seats in our VW have always made me a bit paranoid.
I even bought a clever tray to put on the bench seat for when we sit there with cups and want to stand them carefully.
Then I covered the seat with a throw, but the material was always getting pulled off when we moved about and I was forever tucking it into the gap between the back and the seat.
So now, having revealed my borderline OCD, I want to share the cure.
Sunlounger pads gave me the idea
We’d always carried a couple of cheap lounger chair pads for softening the mattress or for lazing on the grass.
I popped one on the bench seat the other day and realised the weight kept it in place, it looked great and it was still multifunctional – only now it had a use all the time instead of being rolled up on the back shelf.
However, there was still a bit of work to do. What about the seat back? And what about a more sympathetic material?
The following instructions assume you can do basic sewing and have a sewing machine. While they’re written here for the VW California Beach, the method is simple so you can adapt it to the bench seat or backseat in any vehicle – campervan or car
How to make Campervan seat covers
Here you are, step-by-step. Campervan seat covers…
1. Measuring and materials
- Measure your seat and back. The 2015 two-seater California Beach measures 118cm x 55cm on the seat. The back is 118cm x 75cm.

Measure twice, cut once. It’s the carpenter’s creed – and it avoids annoying mistakes. I also did a lot of the checking and fitting in the van so I could see things in place and spot any problems.
- Select a hardwearing but soft material. You’ll need around 4m of 150cm wide fabric, but more if you need to match patterns.
- You also need two sheets of wadding or light foam. I decided to do two pads rather than one big one to leave room for the seatbelt clips and because two separate pads are more versatile. I used 3cm memory foam.
- Your cushions need simple cases/covers that can be removed for washing – no fancy edging, just straight hems. I used zips, but a roll of press-studs on tape or individual press studs would work too.
2. Cutting out and shaping
- Seat – Working in the van, so you can get sizes exact, cut your wadding or foam to the size of the seat – just a basic rectangle. Cut out a small area to accommodate the seat-belts in the middle.

The pieces cut for the back rest and the seat. I overlaid a strip of patterned fabric, but you can leave them plain. Cutting the slot for the seatbelt clip is best done in the van, so you can check everything lines up.
- Back – Cut your wadding pad to fit the back rest, and create two cutaway sections top left and right for the seat-belt slots.
- Now cut two pieces of fabric to the same size and shape as the pads, leaving 2cm/1” all round for the seams.
3. Sewing your seat covers
- If you’re using zips, sew these in to the short ends. Other types of fastenings can be done last. When I learnt the easy way to do zips, I turned from zipperphobe to zipperphile! Basically, you hem the edge that will hold the zipper a zip-width from the top then iron the hem open.
- Now place your zip (wrong side up) with the teeth running along the sewn line. Sew it into place and then snip open the hem that’s between the teeth. Neat and invisible.
- Sew up the three other sides on the covers (remembering to leave the zip open).
Extra finesse to make your campervan fantastic
A neat valance
- On the seat, you might want to have a bit of a valance that hangs over the curve of the seat. It’ll look neater and be more protective. I also like the way it disguises there’s a drawer.
With the valance in place. Basically an extra flat cover under the cushion with a strip sewn along the edge.
- Cut another seat-size piece of fabric. Cut a piece to run along the front of the seat and another shorter piece for the side of the seat (ours is the side next to the sliding door). You don’t need one for the far end.
- Hem all these and then, in the van, pin the pieces together in place, so you can adjust to fit exactly.
- This valance sits under your cushion and everything stays neatly in place
Loose cushions and the storage box
- I actually used two fabrics – a plain one as a base with a patterned material sewn in strips to break up the grey.
- I also made simple matching loose cushions from the patterned fabric.
- Finally, I covered the storage box cushion with the plain fabric using the same technique as the main seat cushions.
Attaching the seat back cushion
I found that putting the seatbelts over the back cushion keeps it put. If not (if you’ve used heavier foam, for example), you can make some loops to run over the top and tie down the back of the seat.
Read more about the VW California Beach, including why it works so well, how to pack it and what extras to buy – from the best fridge to add-on awnings.


